ReVision House – Maximum Insulation For Maximum Energy Conservation

The ReVision House, on Pueblo Way in Paradise Palms is a BEEHIVE of activity. Time is running short. The property is supposed to be ready for the January 21st International Homebuilders Show. They say it will be done! Talk about an amazing race.
During the time the county was putzing around with permits and engineering changes and creating all kinds of delays, the demolition, plumbing and electric and framing were all finished. There wasn’t much to report as it didn’t really effect the energy conservation that is the goal of the project.
 But now, it’s time to catch you up on the “green” aspects of the ReVision House. First to be installed is insulation. The newest techniques involve filling ALL the exterior cavities of the house (between the walls). Traditionally, bats of insulation were used. They had lots of air gaps, poor coverage, and didn’t seal the house for air penetration.
The newest methods involve high density spray foam.
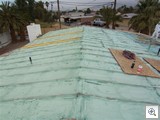
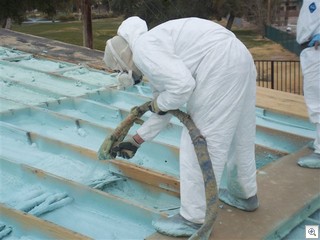
Gale insulation of St. George, Utah, a MASCO company, is shown installing high density foam insulation in the rafter cavities of the ReVision House. BASF Comfort Foam was chosen as the product to be used. It sprays on as a liquid and then expands to fill the cavity. It completely fills in all gaps and joints for an airtight seal. Excess can be shaved off, prior to installation of the wall, ceiling or roofing materials.
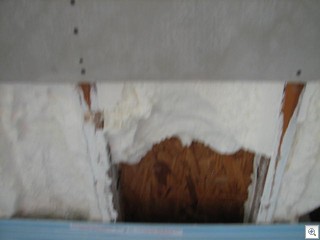 The BASF Comfort Foam can be installed from either the inside or the outside, depending on which side of the walls have been opened up.
Here you can see from inside one of the bathrooms where the exterior wall had been left in place, and the drywall had been removed from the inside.
They’ll come back and fill the gap when they’re done with the bathtub installation.
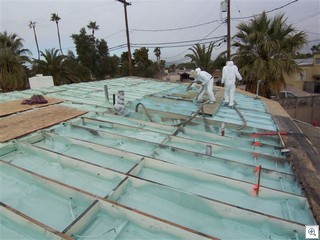 BASF’s website has a little video showing the installation process. I visited the house on Monday when the roof was being done.
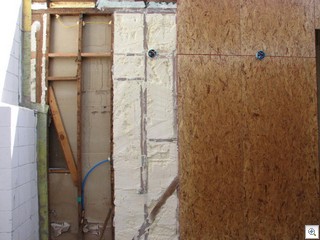 The side wall part of the installation was already complete. When we get a chance to visit the house, we’ll find what they call a “proof wall”. One of the shorter spans of exterior wall next to the fireplace will be left open to show all the various stages that go into super insulating the home. Here’s a picture of it as it was on Monday with just the expanded foam in place.
The foam will be covered with a 1/2 sheet of plywood or particle board, and then there’s another 2 inch thick sheet of insulation styrofoam that’s nailed over the entire surface of the exterior walls. The final result is an AIR TIGHT R-15 sidewall, which is about the most that can be obtained in a retrofit with 2×4 construction.
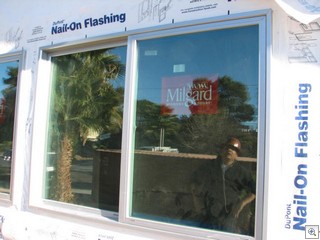 Tomorrow, we’ll catch up on the window installation, and making the house water proof.
The windows are all triple pane, argon filled, Low-e glass in fiberglass extruded mold frames from Milgard. You’ll like that they chose an “aluminum finish” for the frames that will look just like the original 1963 windows. Thankfully – NO WHITE VINYL!

